
**post updated February 2022, originally published October 2014**
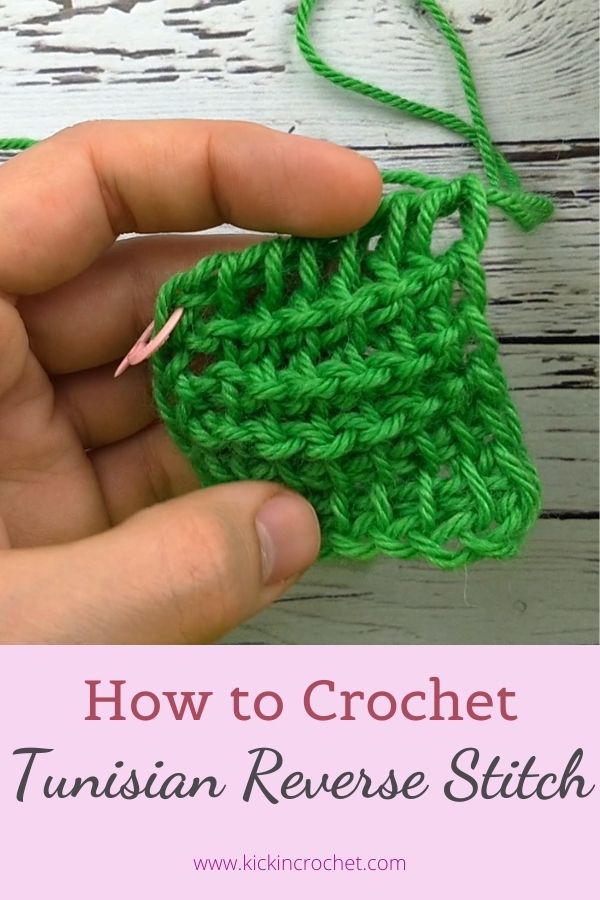
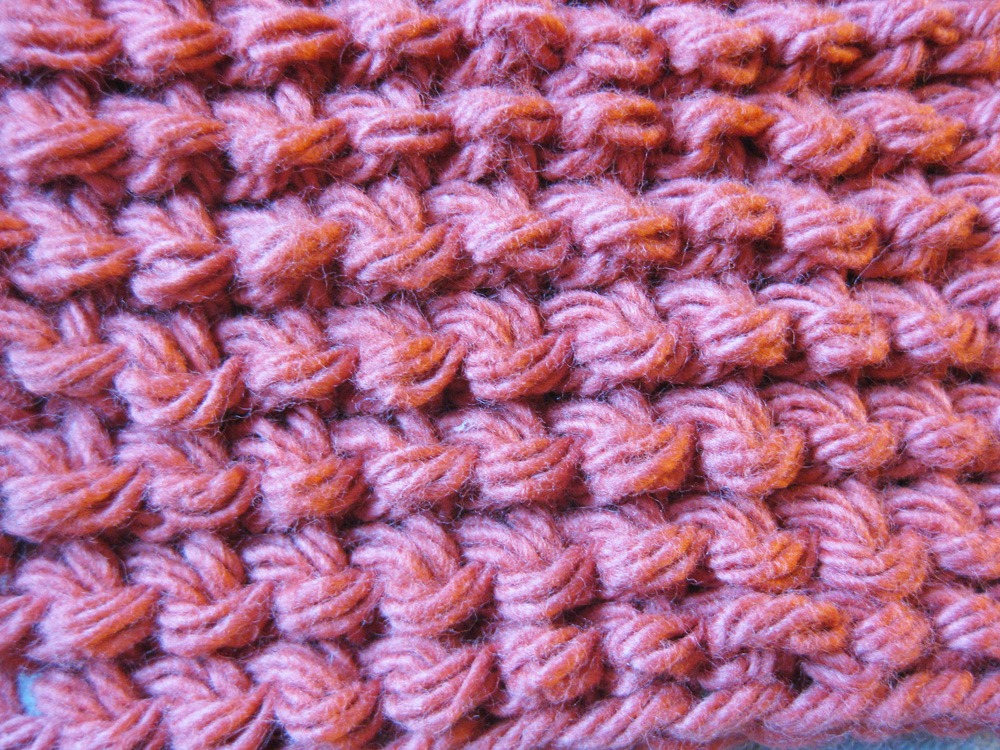
Tunisian Reverse Stitch, abbreviated TRS, is one of the most used stitches in Tunisian crochet. It is very helpful to prevent the dreaded “Tunisian curl”, and it is not too difficult! In this post, I will walk you through How to Crochet Tunisian Reverse Stitch with written instructions, photos, and a video tutorial. Let’s Dive in!
*Disclosure: Some of the links in this post are affiliate links, which means if you click on them and make a purchase I may, at no additional cost to you, earn a commission. Read full disclosure here.
Setup for Tunisian Reverse Stitch
Supplies
- Any yarn for practicing.
- Hook about 2 sizes larger than what you would use for the same weight yarn in regular crochet. So for a worsted weight yarn, I might use a size J hook instead of a size H hook. If you are just making a small sample, any standard straight (nonergonomic) crochet hook will do. If you are making a larger project, you will need a Tunisian crochet hook, or a cabled Tunisian Crochet hook.
- Yarn/Tapestry Needle for weaving in ends.
To begin, work a foundation row normally. (To do this, chain however many stitches you need for width, then pick up a loop in each stitch, keeping every loop on your hook. Then work the stitches back off your hook one at a time – start with a ch1, then *yo and pull through two loops, repeat from * until you have just one loop remaining on your hook).
Tunisian Crochet Reverse Stitch
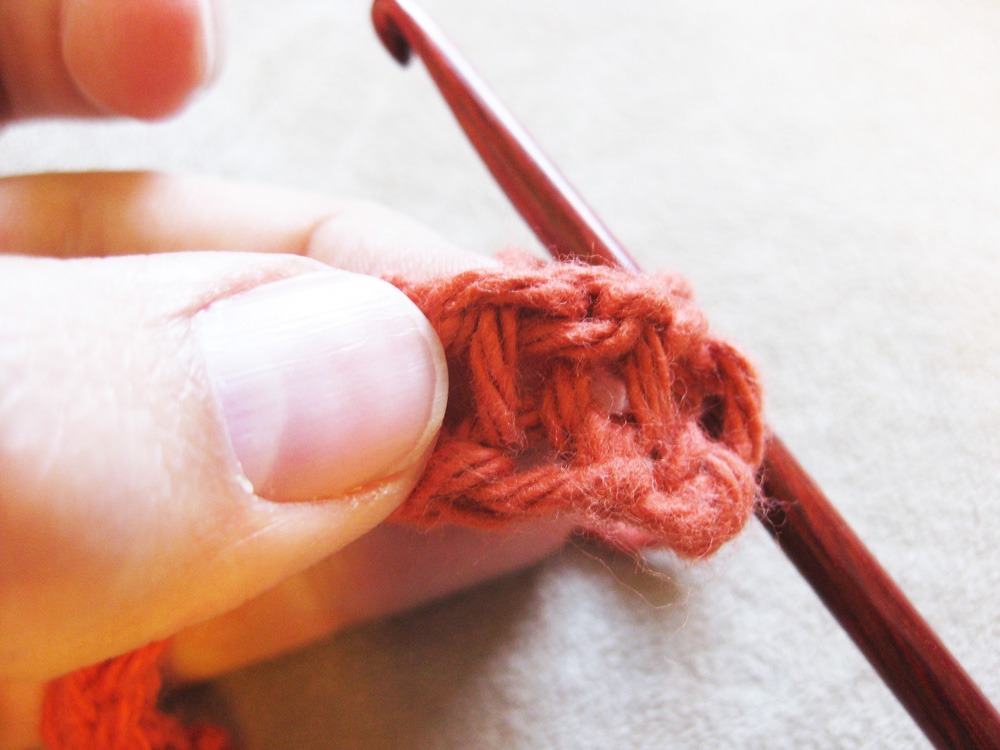
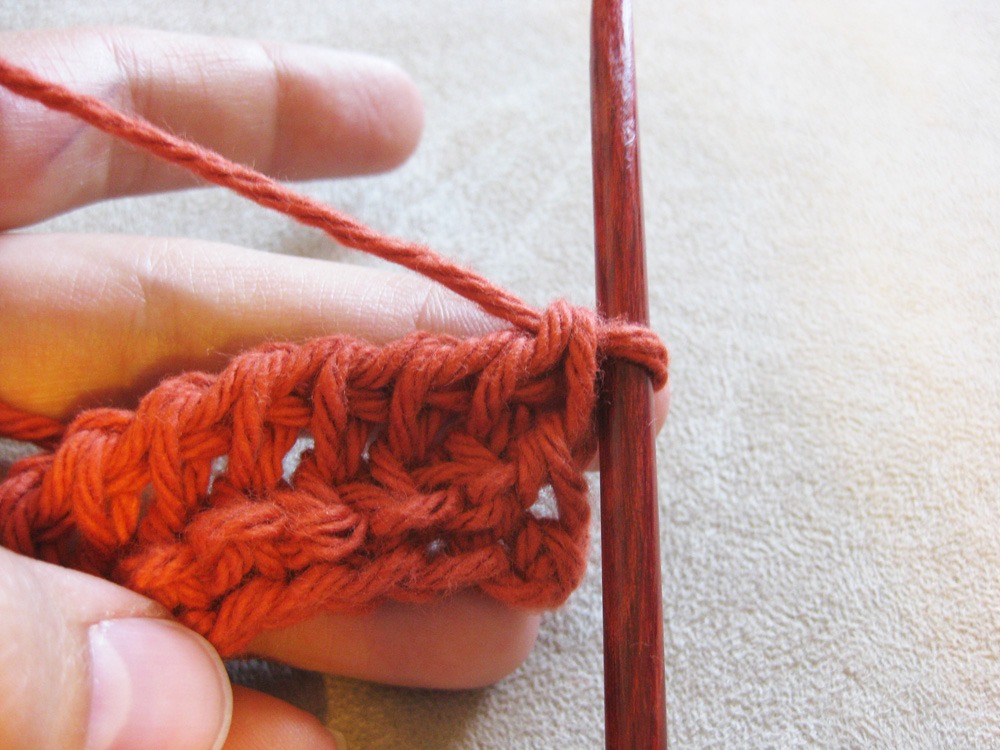
To work Tunisian Crochet Reverse Stitch, instead of inserting your hook through the vertical bar in FRONT like for Tunisian simple stitch, you will insert your hook from right to left through the vertical bar in BACK of the stitch and pull up a loop. (scroll down for video tutorial)
This stitch does take some practice to get used to, but you’ll have it down in no time! The hardest part for me was realizing that I still wrap the yarn for the yarn over exactly the same way I would for Tunisian Simple Stitch.
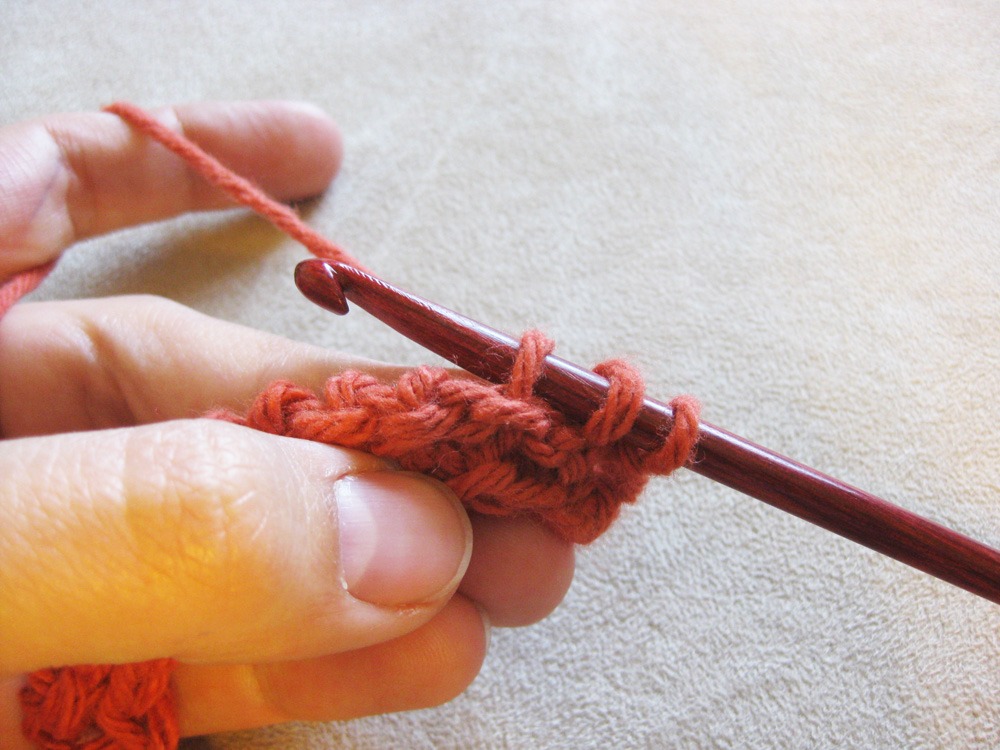
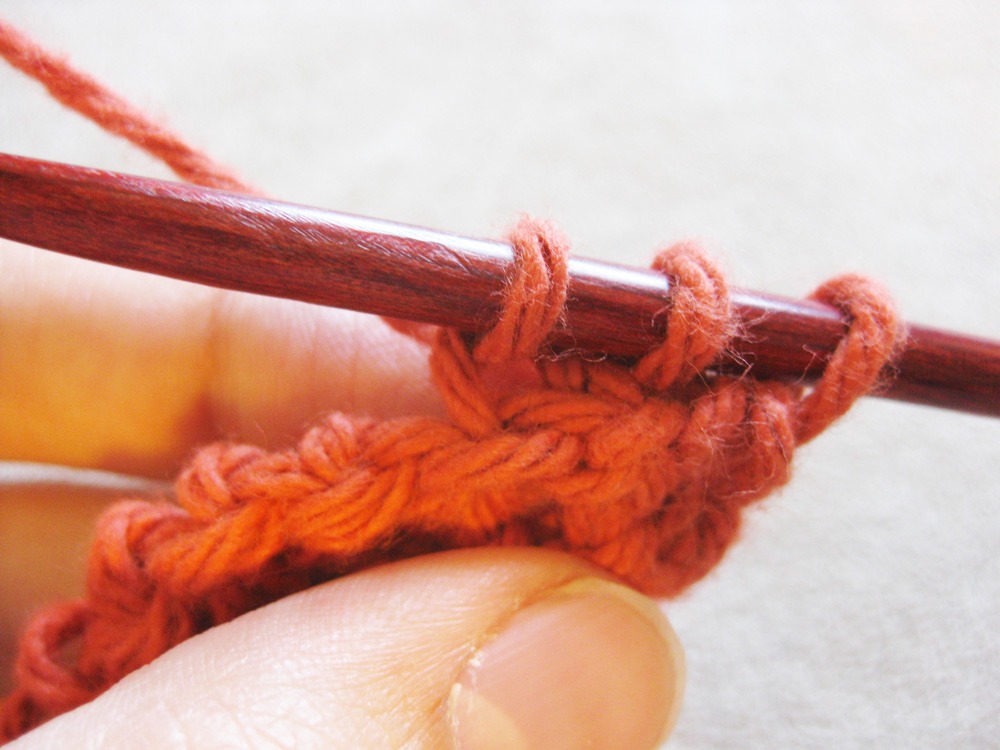
Continue to pull up loops through the back vertical bars all the way across the row. When you get to the end, you’ll close in the standard way: Ch1, then YO and pull through two loops on hook until you get back to the start of the row.

Reverse Stitch Video Tutorial
I hope you enjoyed this tutorial and found it useful! If you liked this post, you may be interested in How to Tunisian Crochet in the Round.
Hi Mary,
Thank you for this tutorial I’m still new to Tunisian Crochet and love learning new stitches. I love learning new stitches in crochet anyways. But I’m always looking for easy to follow instructions like this one. Can’t wait to try it out